Flight Yoke Kit
DIY 3D Printable Flight SIM Yoke Kit (Inspired By Boeing 737 Yoke).
Please note that this model is not a 1:1 scale of the original Boeing yoke. Here is two Versions: Axles based based on potentiometers and Axis based on Linear Hall sensors.
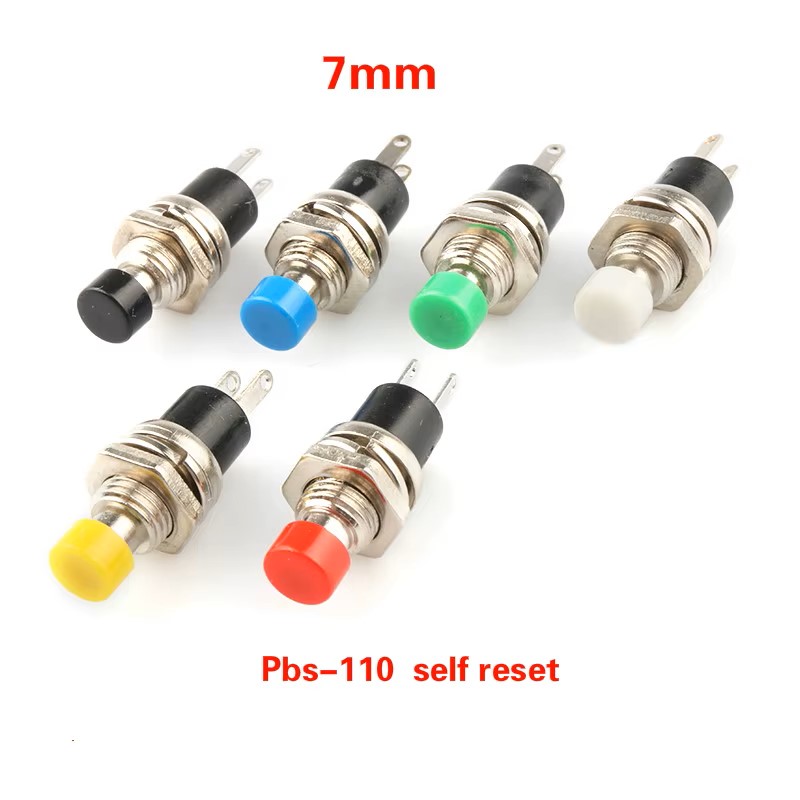
x10 buttons.
Yoke Kit can be connected by USB joystick board. (from an old joystick), or by HID Arduino Micro, MMJoy/MMjoy2 for example.
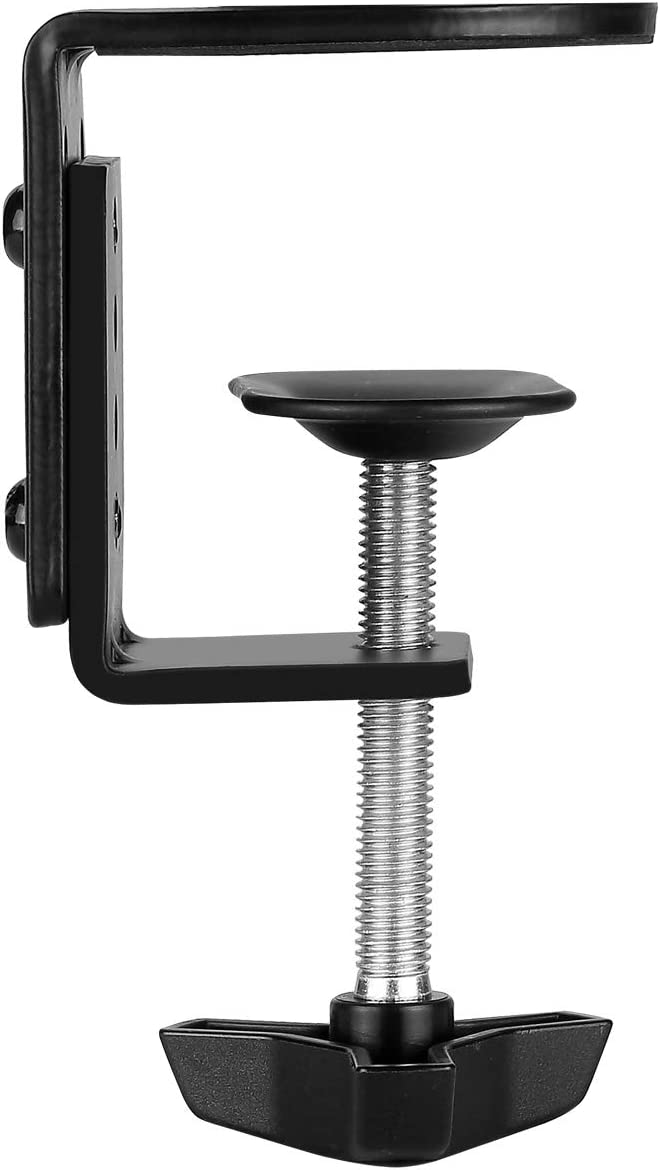
Yoke kit suitable for table mounting using “Universal C Shape Table Mount Clamp”.
Delivery: Zip file, .STL .OBJ files CHECK LIST.png, CHECK LIST.psd
All questions are welcome.
Email: s.m.aurelius@gmail.com
Discord: http://discord.gg/YVn92NGYpt
Here You will find all instructions:
In the archive you will find the file “YokeV001.obj” or “Yoke001Potentiometer.obj” For a good understanding of how to assemble the printed parts, it will be better to open “.obj” in FreeCAD or another CAD and disassemble all the parts. Files
Some changes made to the Arduino holder — new versions available for USB Micro and USB Type-C.
File: ArduinoBoxHolder.zip

Electronics
The Yoke Kit can be connected using an old USB joystick board, or by HID Arduino Pro Micro, MMJoy/MMJoy2 projects.
Youtube MMJoy Guide: https://youtu.be/kZLlNwUkHv0
MMJoy firmware, circuits and profiles adapted for use with the Yoke Kit and TQ
Forum: https://simhq.net/forum/ubbthreads.php/topics/4571610/1
MMJOY Original Project
https://github.com/MMjoy/mmjoy_en
https://github.com/MMjoy/mmjoy_en/wiki
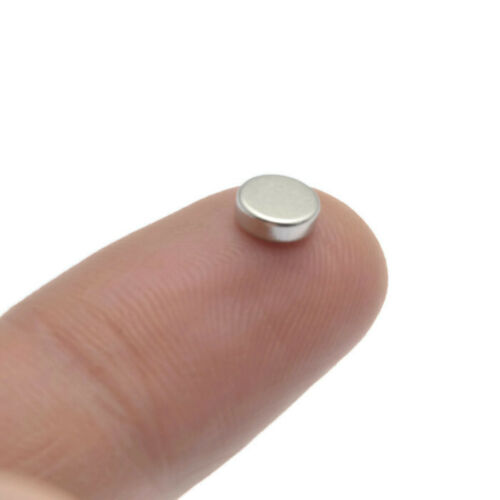
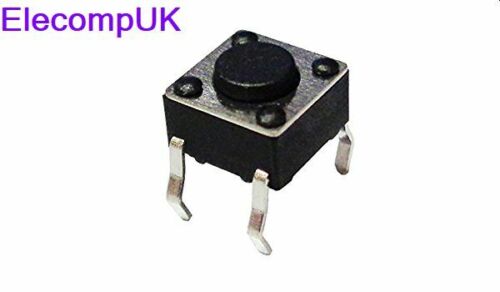
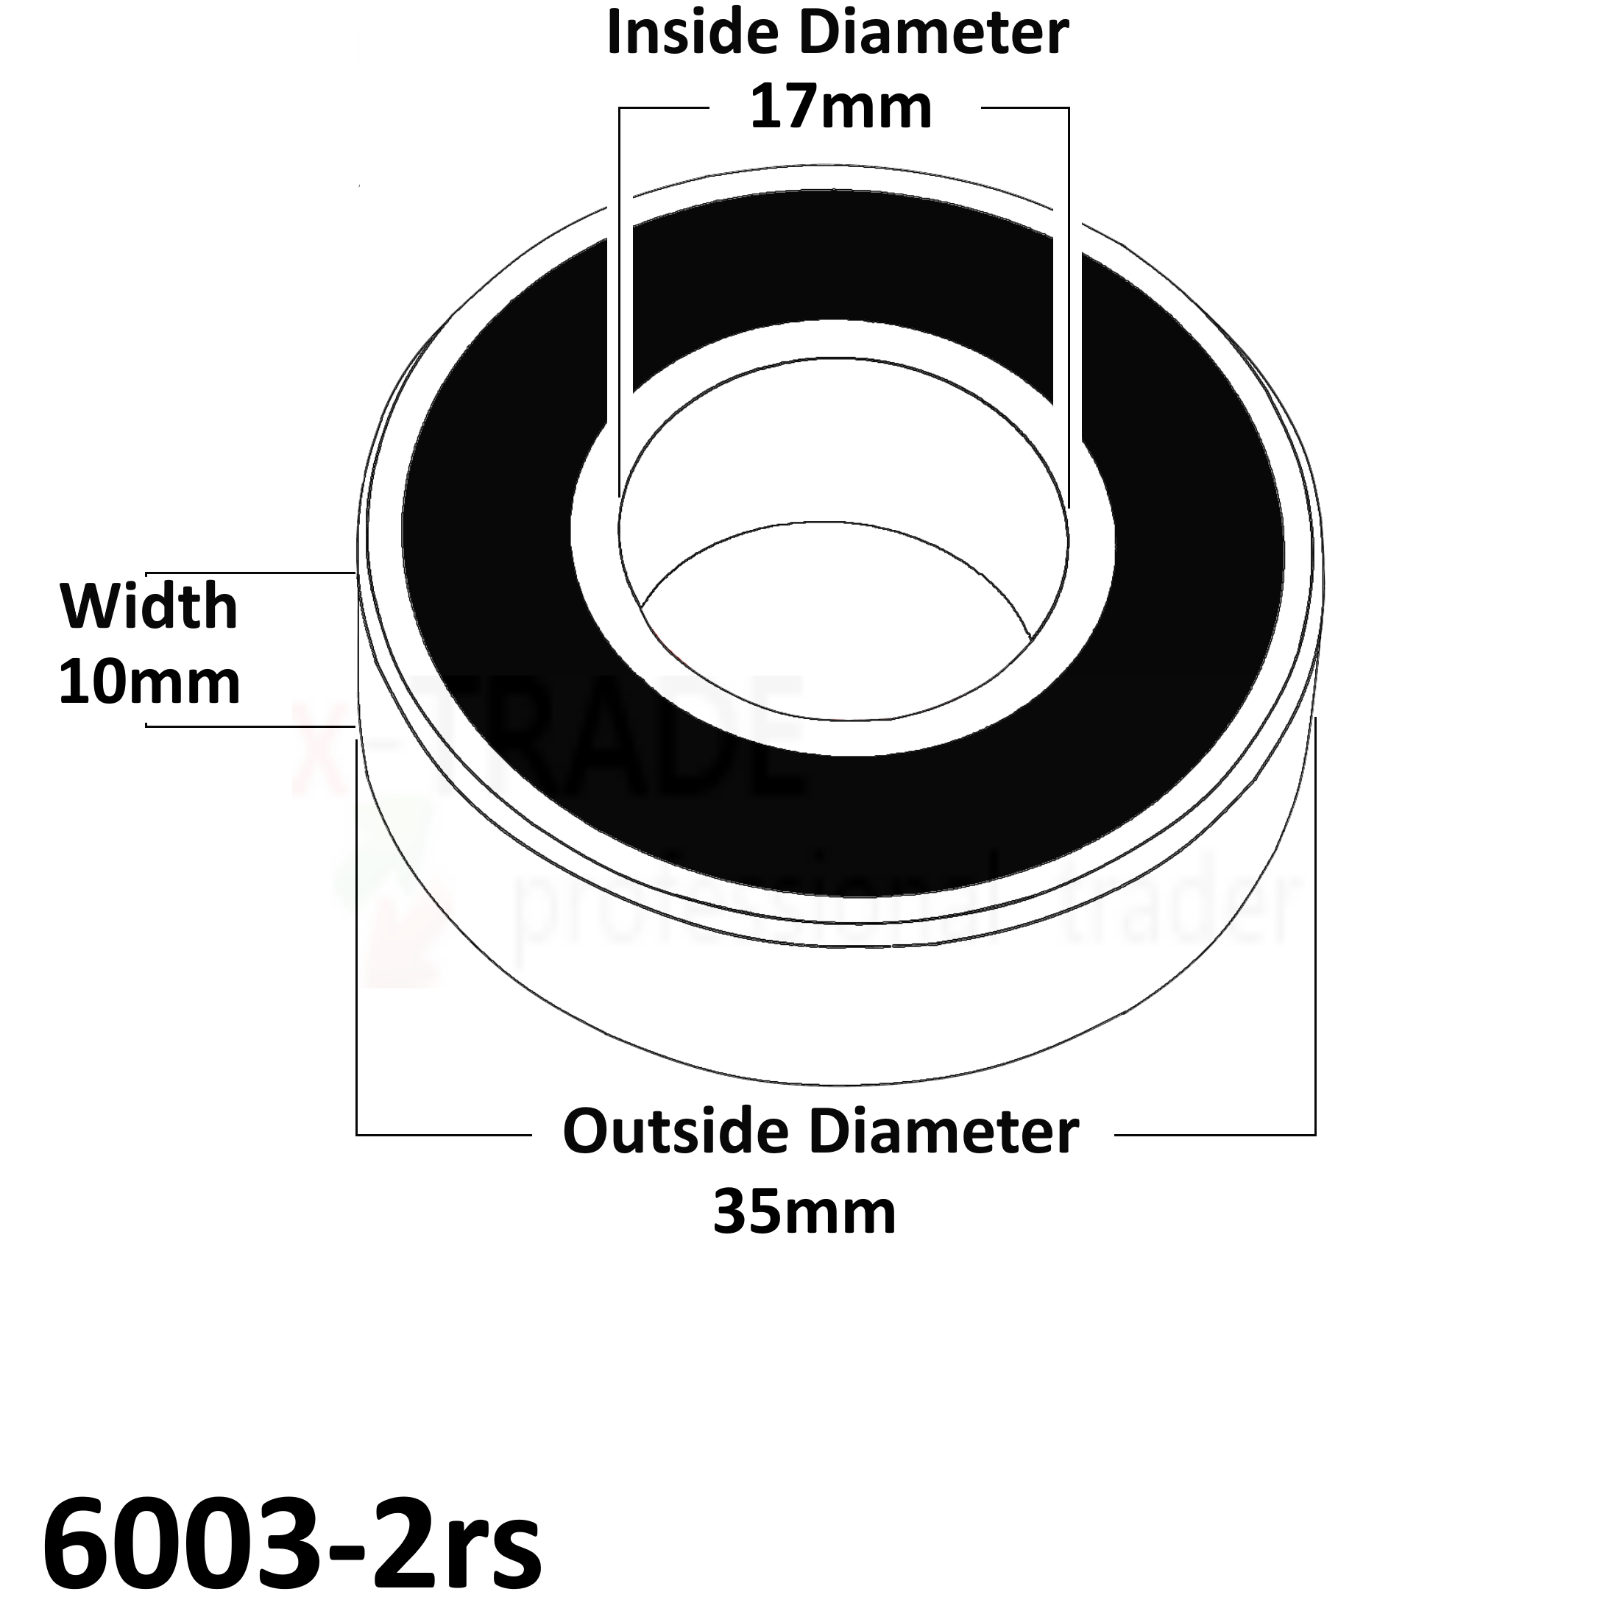
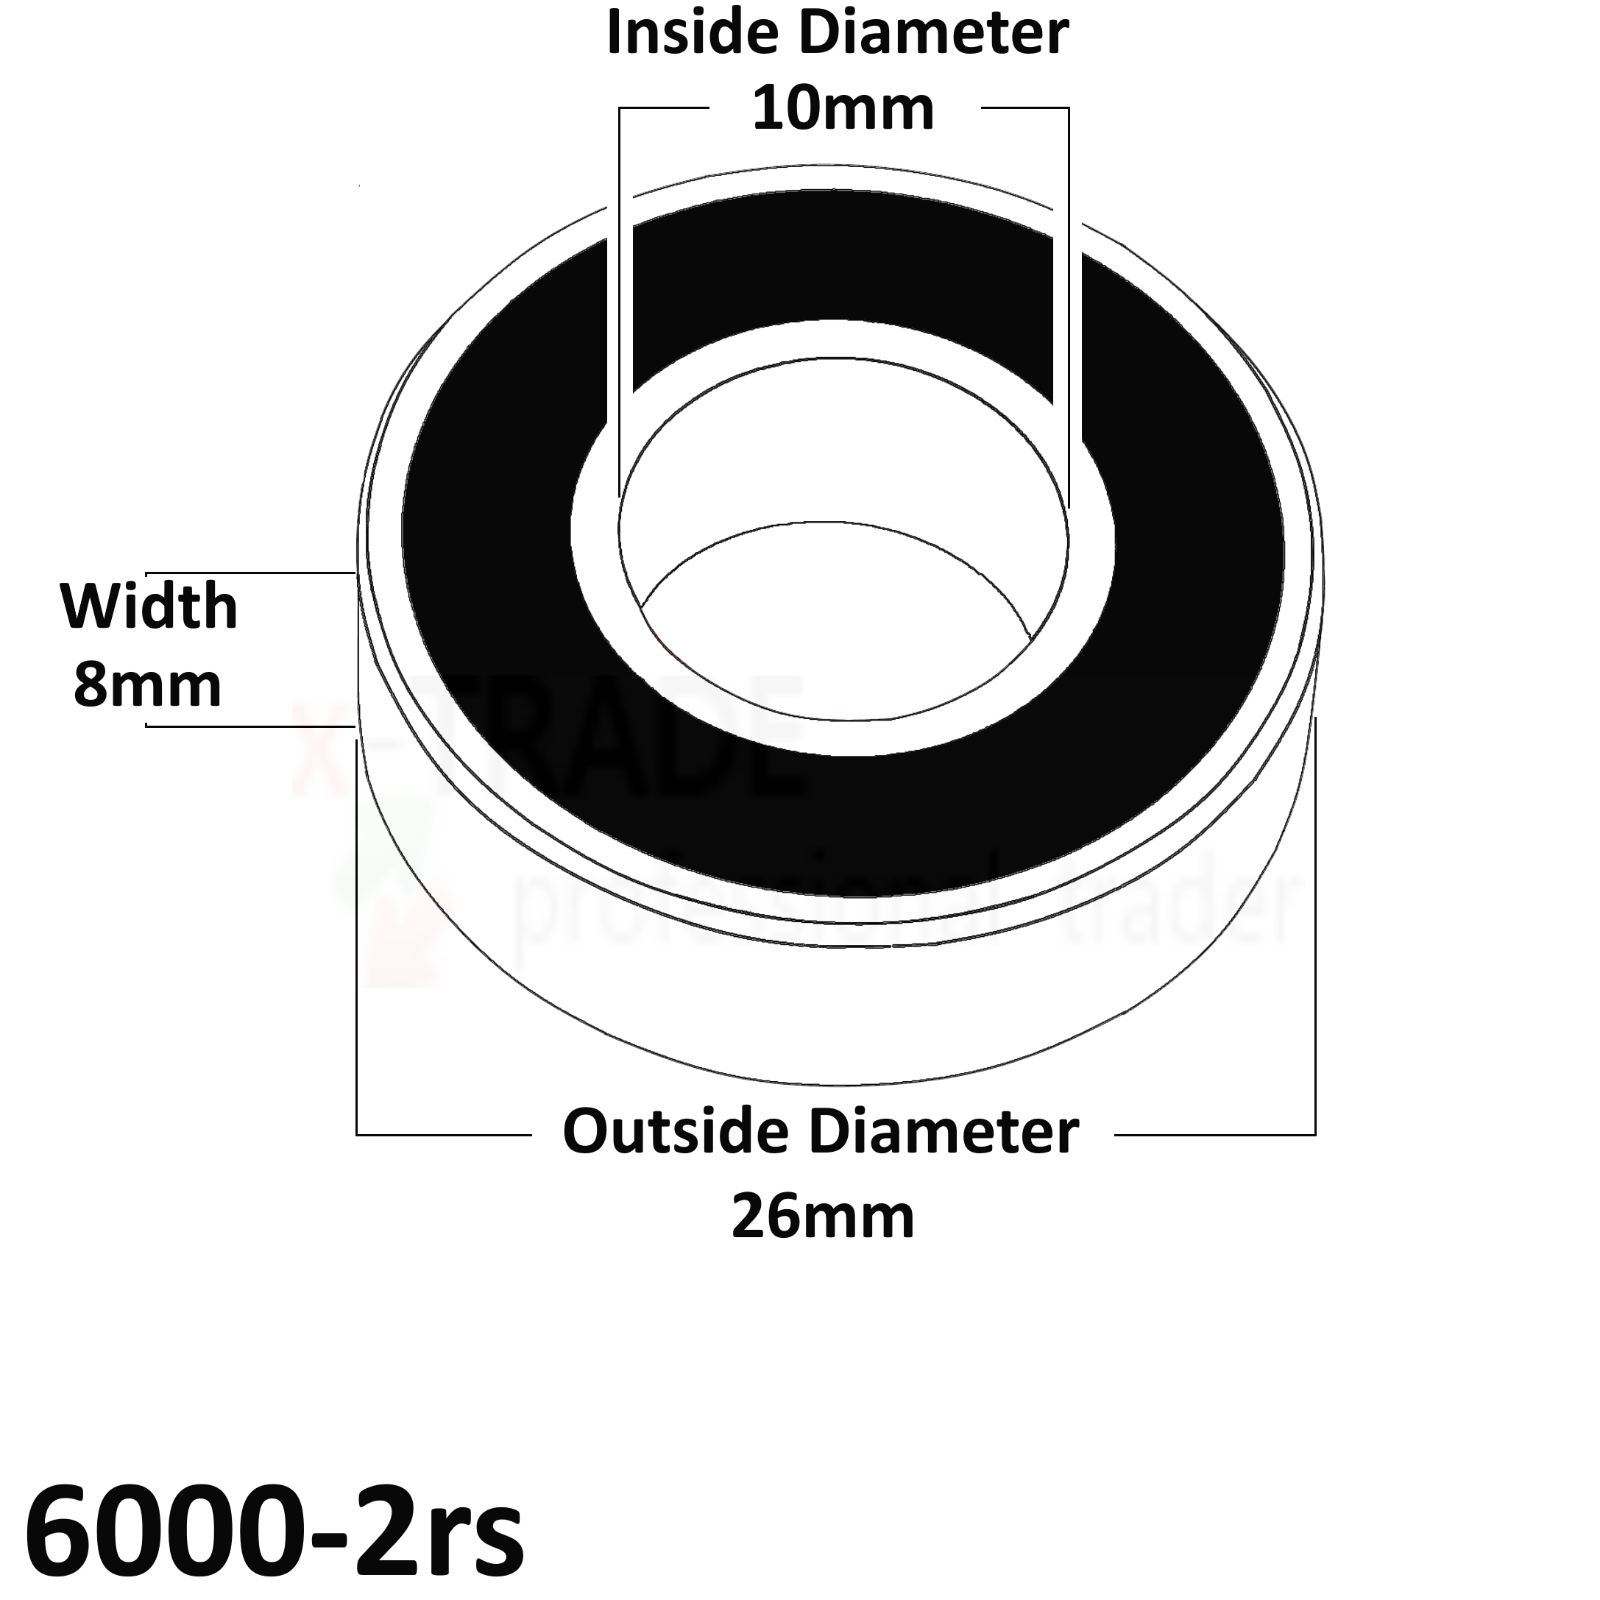
Components
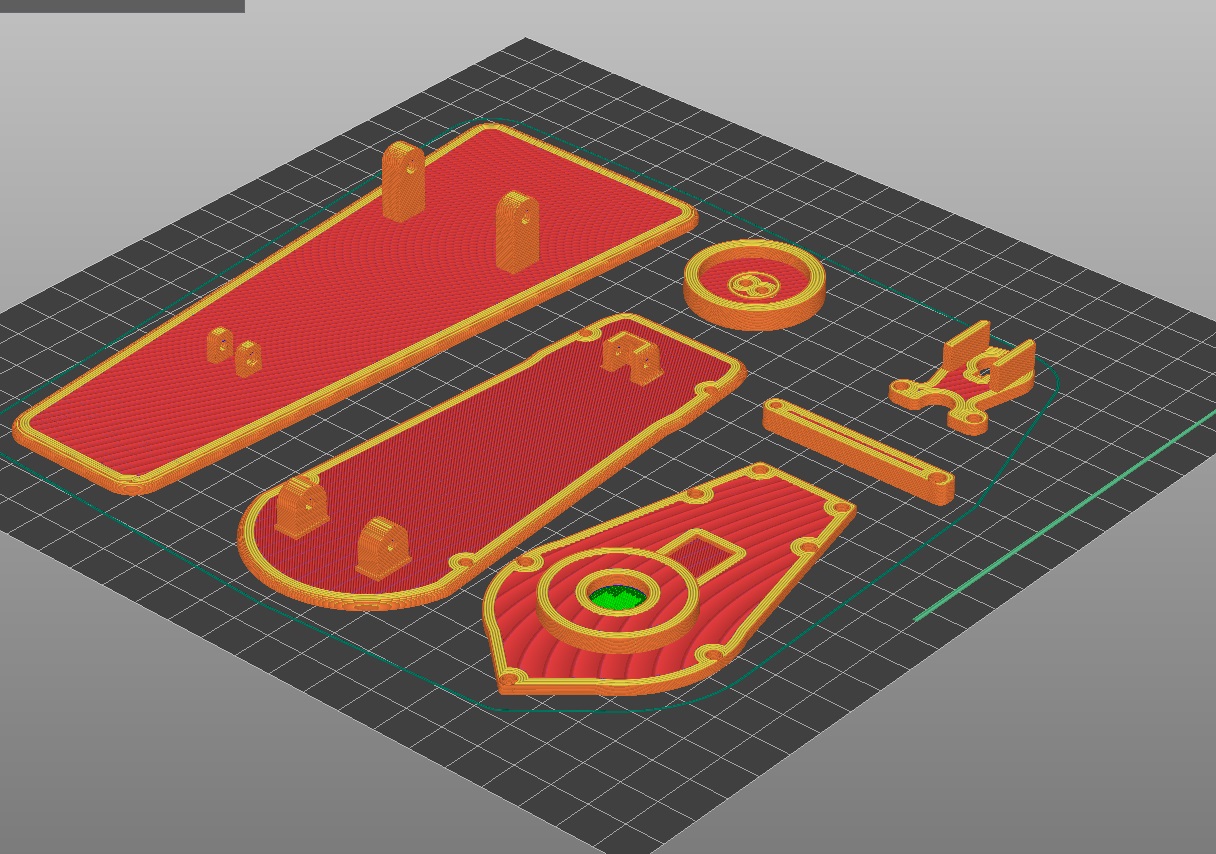
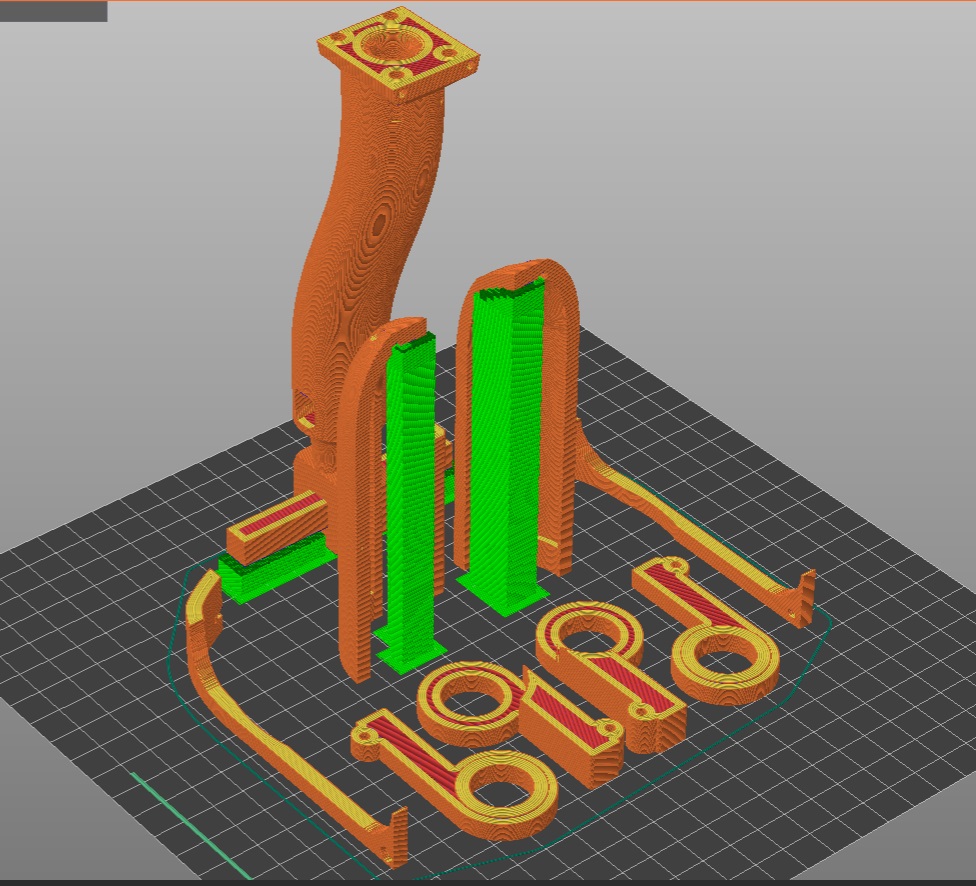
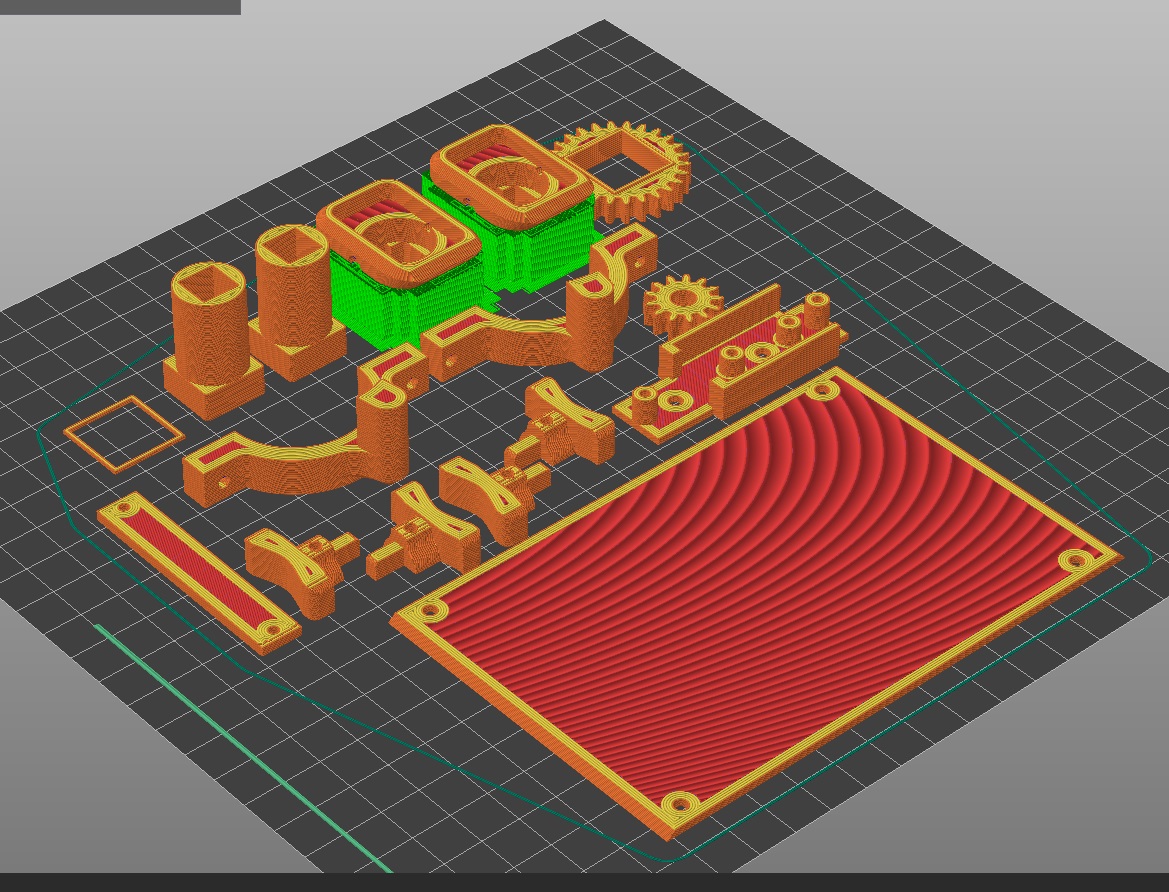
3D Printing Settings:
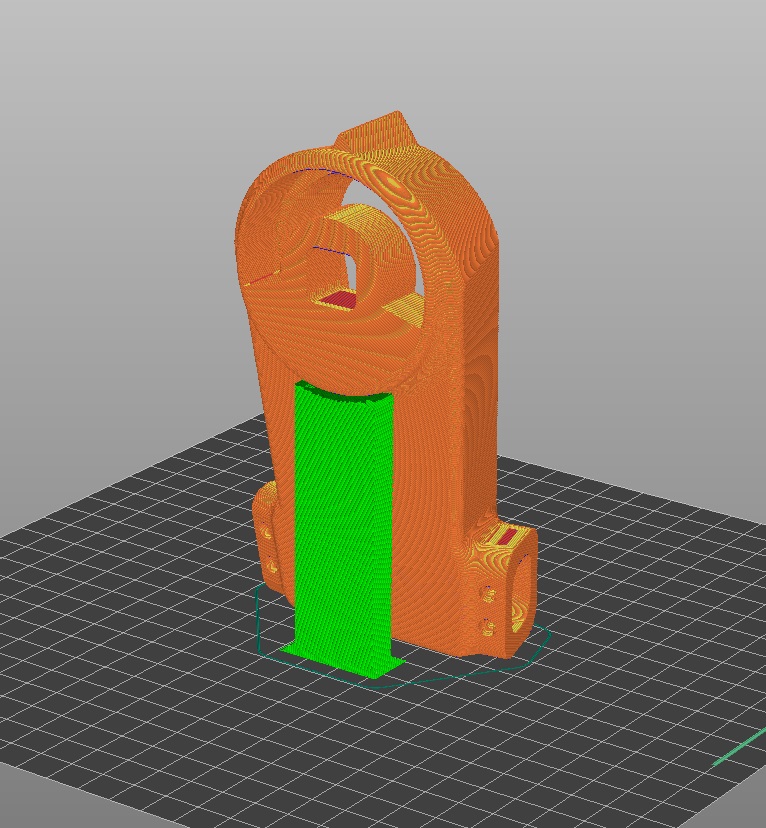
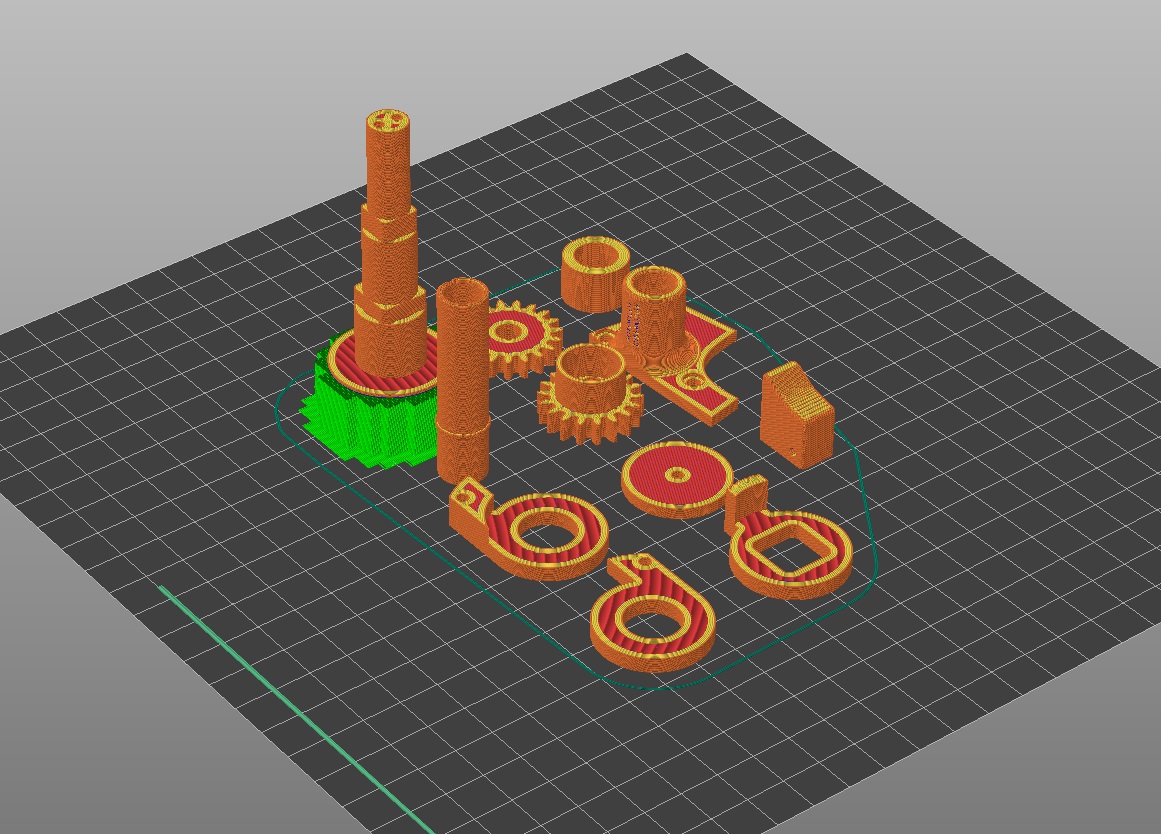
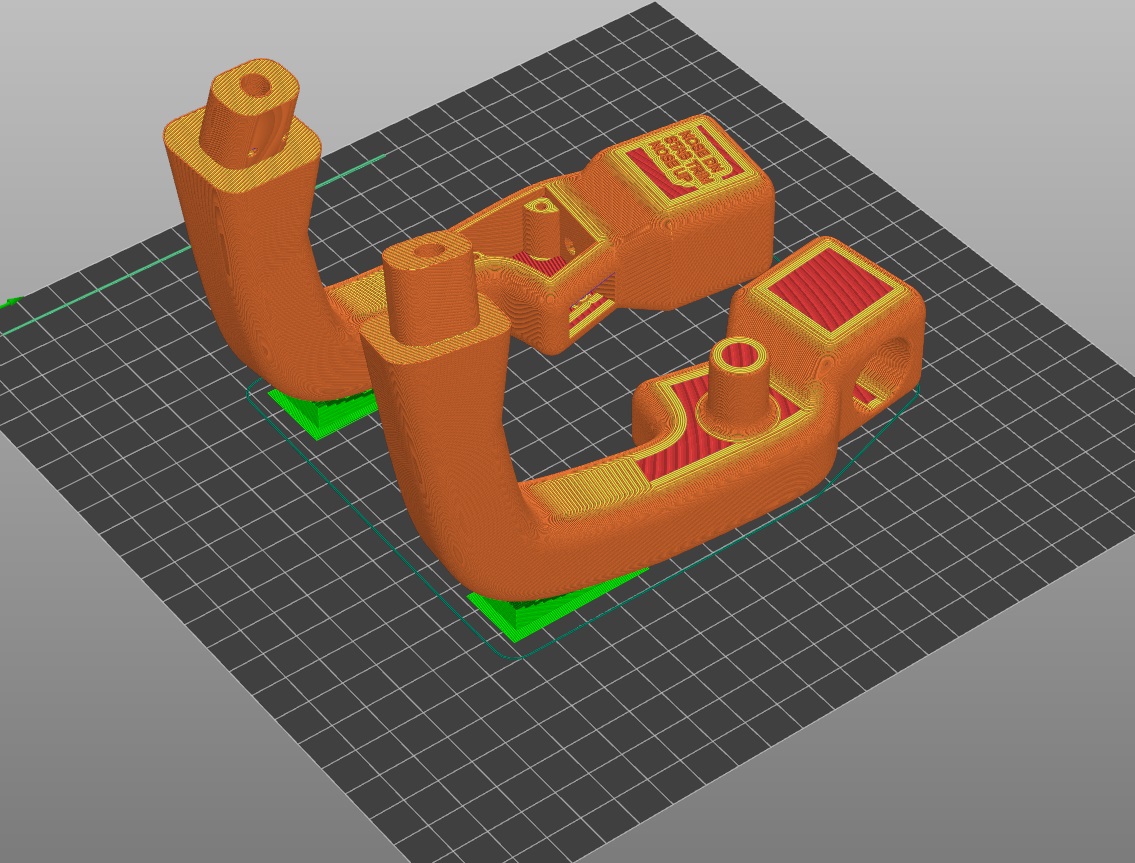
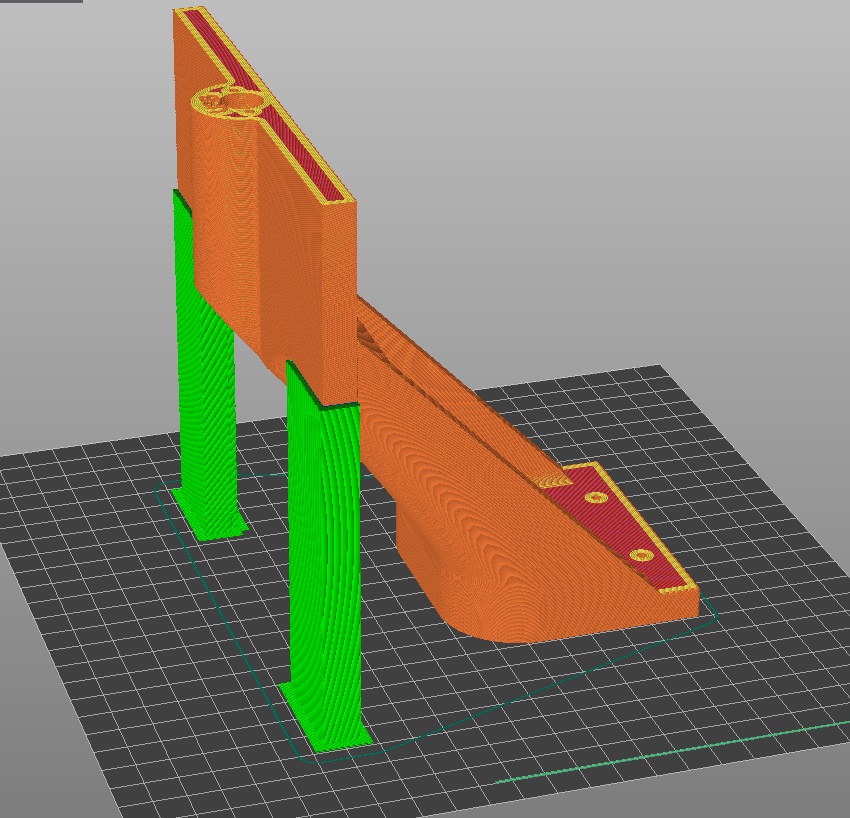
IMPORTANT: Some bodies require Custom Supports:
Prusaslicer: Custom Supports
Cura 5.0 or newer (Custom Supports)
Cura 4: Plugin: Custom Supports
Also Enable Bridge Settings
Layer Height: 0.2mm (But You can choose Your settings).
Infill: 40%-80%
3D Printing Settings Recommendation: Requires approximately 1.5 – 2.0 kg of PLA, PETG


