Airbus Sidestick Guide

DIY 3D Printable Flight Simulator Airbus Sidestick
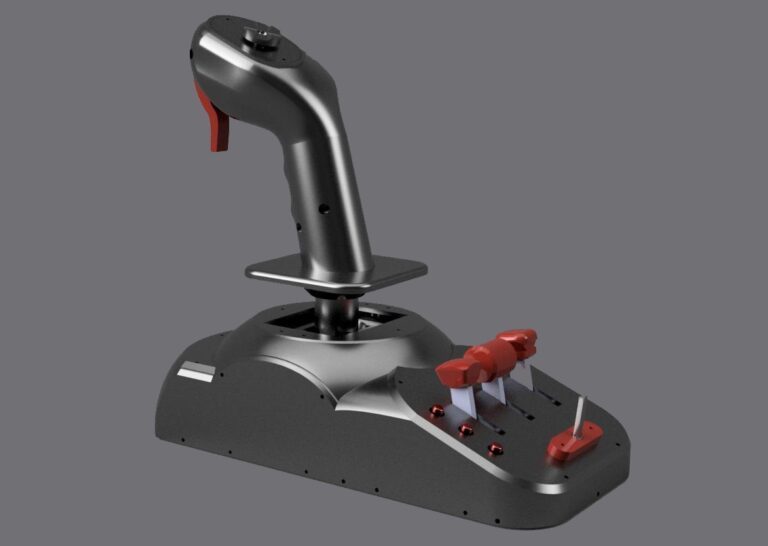
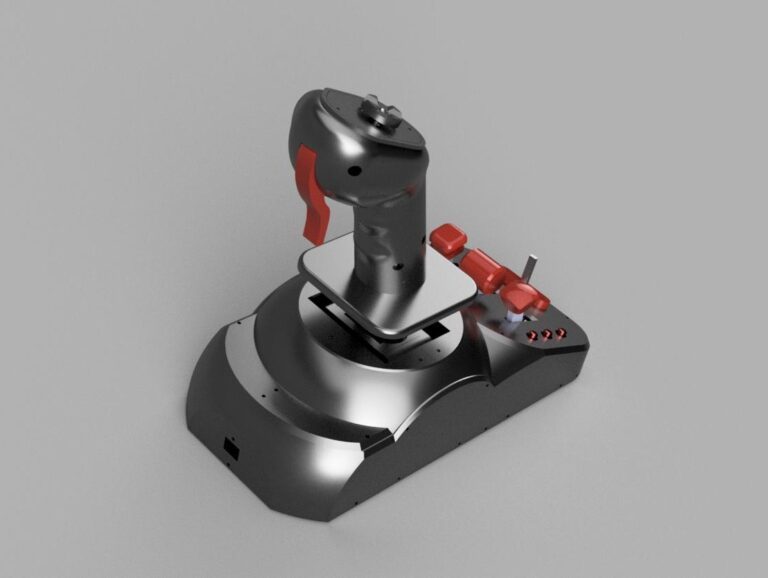
Airbus-style sidestick with this fully 3D printable DIY project, designed to provide smooth and precise control for a realistic flight simulation experience. Inspired by the sidestick used in Airbus aircraft, this model offers a compact and ergonomic alternative to traditional yokes.
Features:
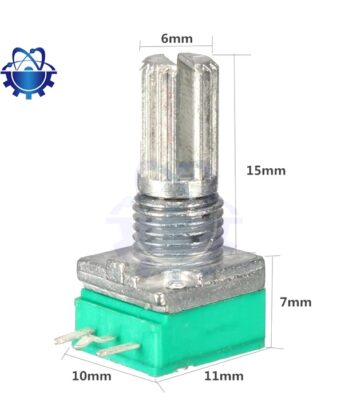
Axes based on potentiometers
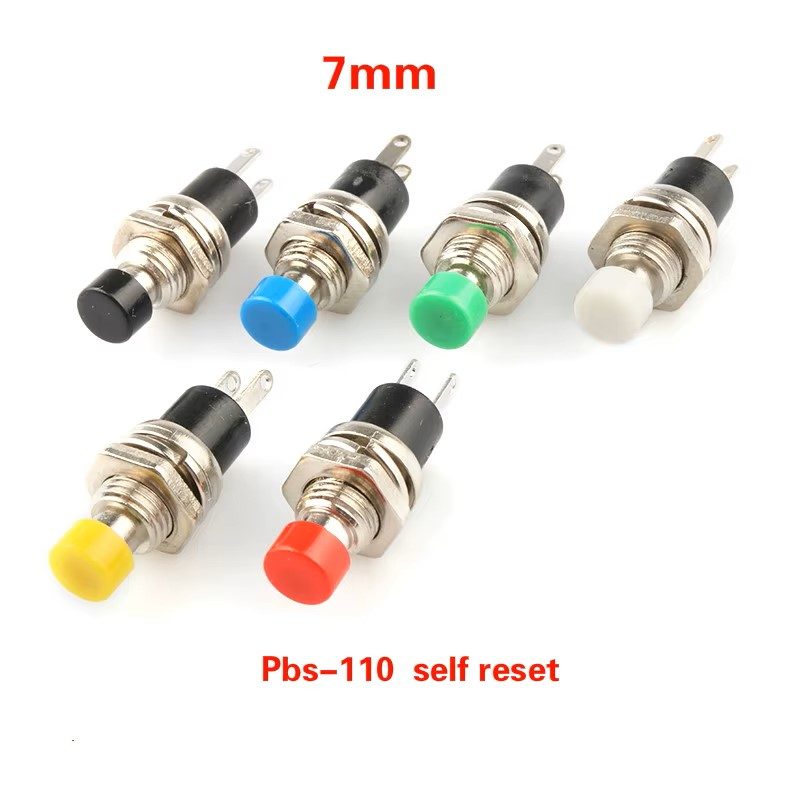
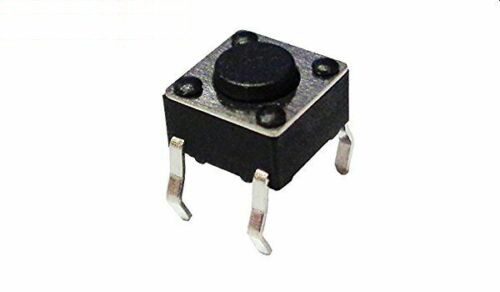
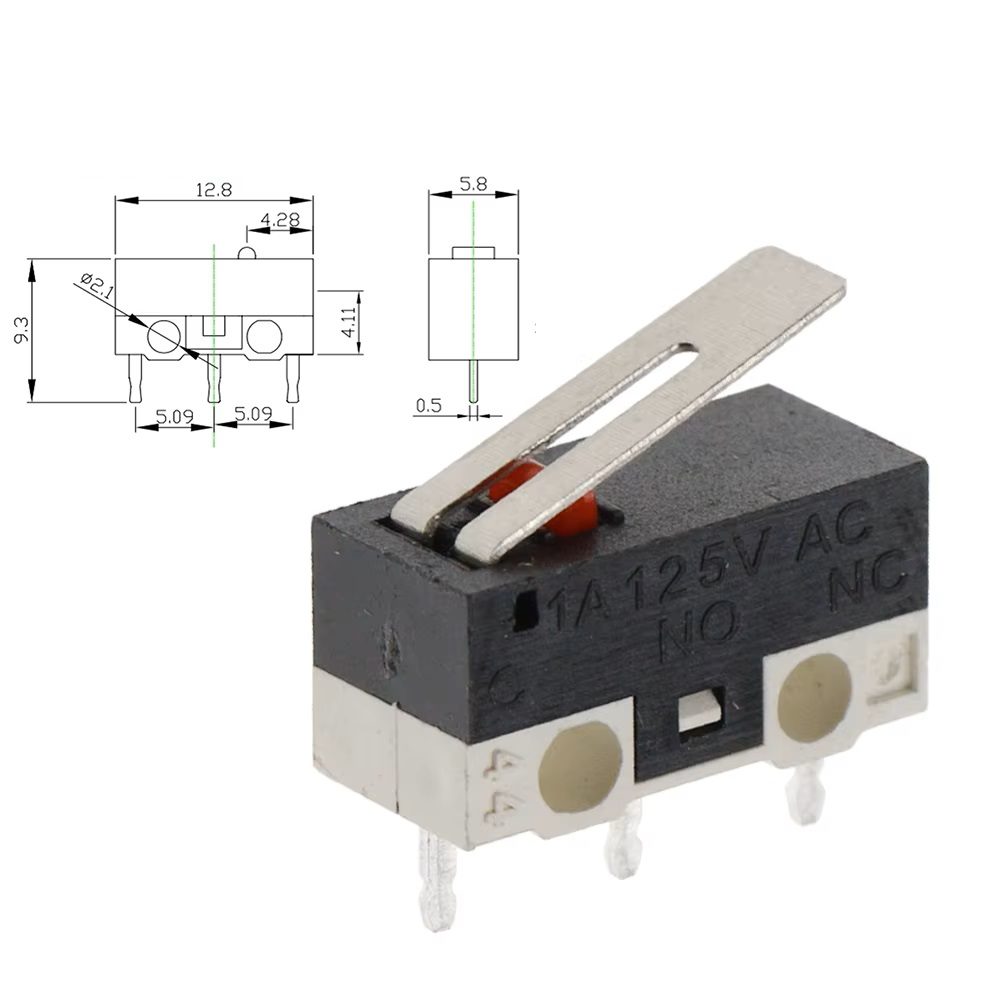
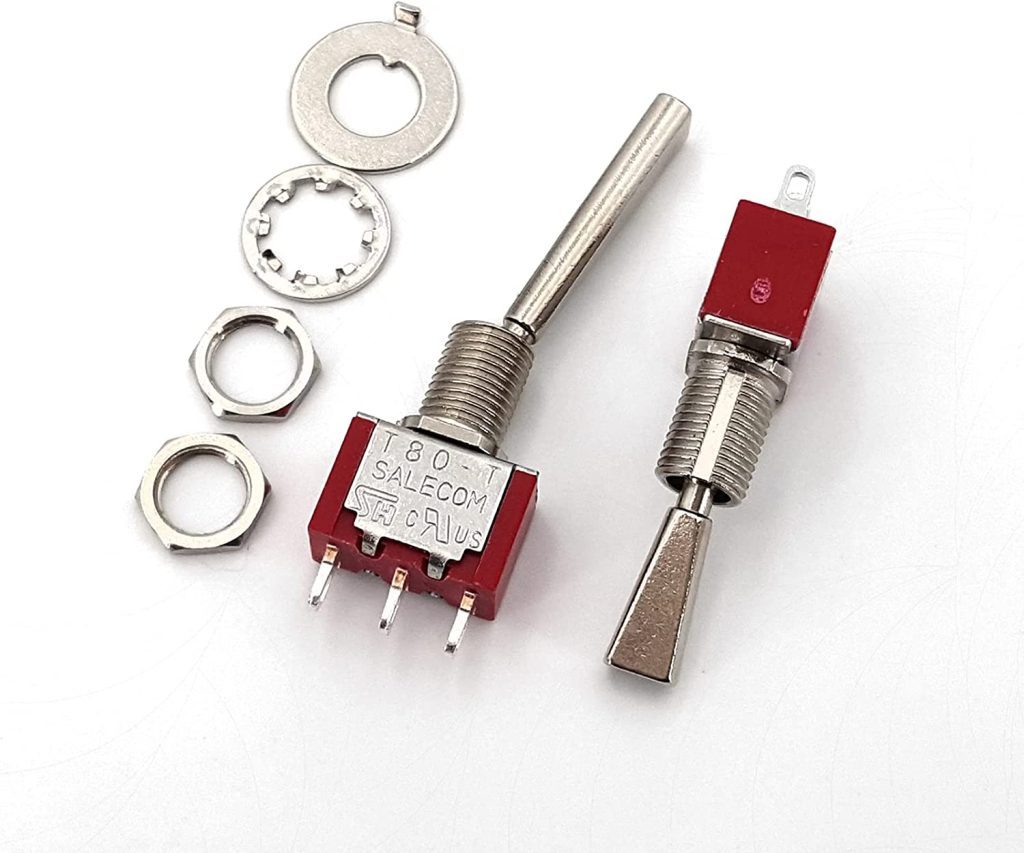
Up to 10 buttons for full control functionality
Compact and ergonomic design for comfortable operation
Suitable for use with popular simulators such as Microsoft Flight Simulator, X-Plane, and Prepar3D
Electronics Compatibility:
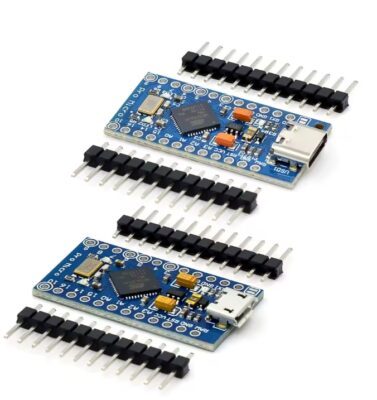
The sidestick can be connected using a USB joystick controller board (e.g., from an old joystick) or via an Arduino Pro Micro configured as an HID device with MMJoy2.
What’s Included:
ZIP archive
.STL and .OBJ 3D files for printing
Email: marcus@silencediy.com
Discord
Airbus-style sidestick with this fully 3D printable DIY project, designed to provide smooth and precise control for a realistic flight simulation experience. Inspired by the sidestick used in Airbus aircraft, this model offers a compact and ergonomic alternative to traditional yokes.
Features:
Axes based on potentiometers
Up to 10 buttons for full control functionality
Compact and ergonomic design for comfortable operation
Suitable for use with popular simulators such as Microsoft Flight Simulator, X-Plane, and Prepar3D
Electronics Compatibility:
The sidestick can be connected using a USB joystick controller board (e.g., from an old joystick) or via an Arduino Pro Micro configured as an HID device with MMJoy2.
What’s Included:
ZIP archive
.STL and .OBJ 3D files for printing
Email: marcus@silencediy.com
Discord
YouTube Sidestick Guide
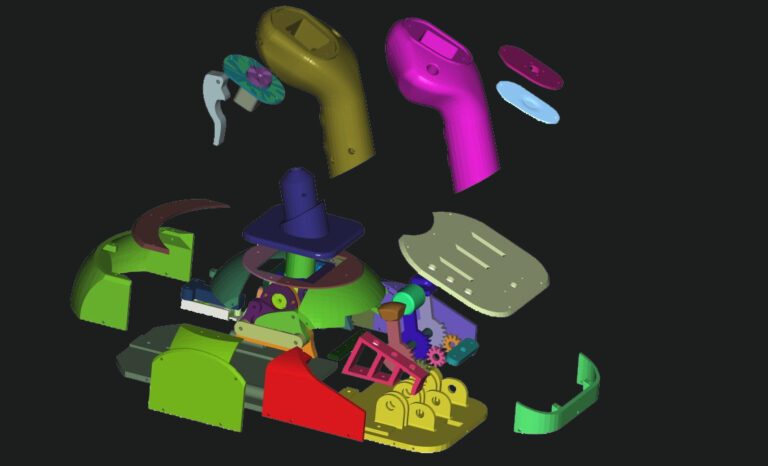
Assembly Notes:
To better understand the assembly process, it is recommended to open the .obj file (e.g., “Sidestick1.2.obj”) in FreeCAD or another CAD program and explore or disassemble the components..
Electronics
Youtube MMJoy Guide
The Yoke Kit can be connected using a USB joystick controller board (e.g., from an old joystick) or via an Arduino Pro Micro configured as an HID device using MMJoy2 or related projects.
MMJoy2 firmware, circuit diagrams, and preconfigured profiles for the Yoke Kit, Throttle Quadrant (TQ), rudder pedals, and sidestick are available for download here:
MMJoy2 LinksForum:
https://simhq.net/forum/ubbthreads.php/topics/4571610/1
firmware%20and%20software%20release/MMJoy2.7zhttps://github.com/MMjoy/mmjoy_en/wiki
MMJoy2 firmware, circuit diagrams, and preconfigured profiles for the Yoke Kit, Throttle Quadrant (TQ), rudder pedals, and sidestick are available for download here:
MMJoy2 LinksForum:
https://simhq.net/forum/ubbthreads.php/topics/4571610/1
GitHub MMJOY Original Project
https://github.com/MMjoy/mmjoy_enhttps://github.com/MMjoy/mmjoy_en/raw/refs/heads/master/firmware%20and%20software%20release/MMJoy2.7zhttps://github.com/MMjoy/mmjoy_en/wiki
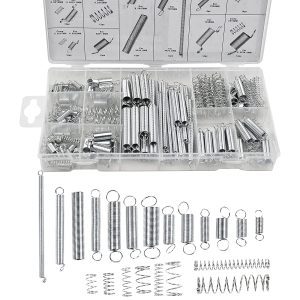
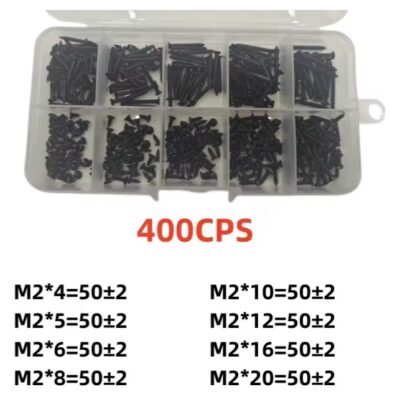
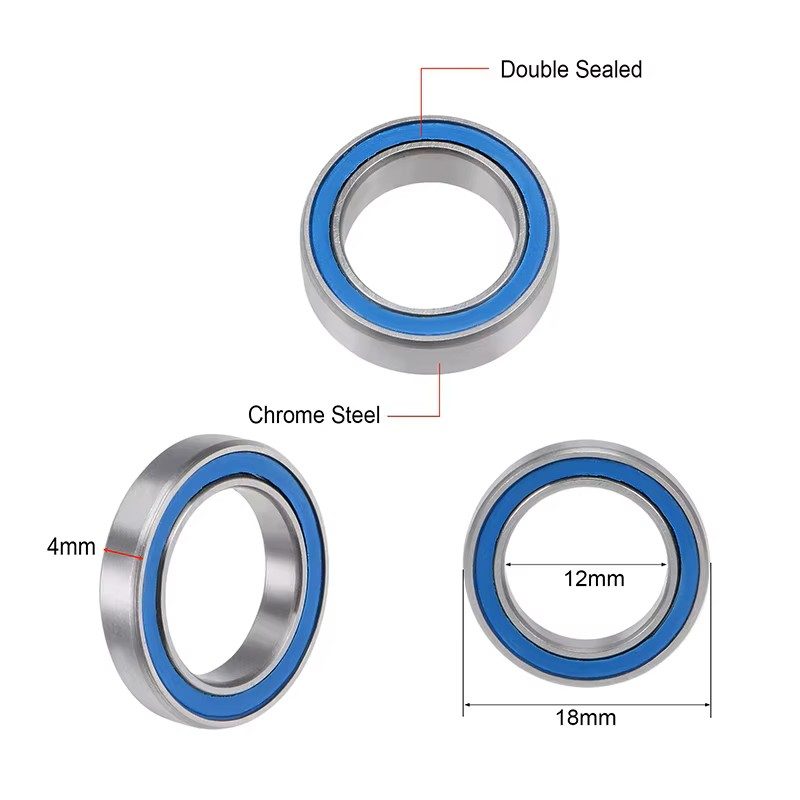
Components
(For Yoke Potentiometer Version)
Linear B type (Not Logarithmic Potentiometers!!!)
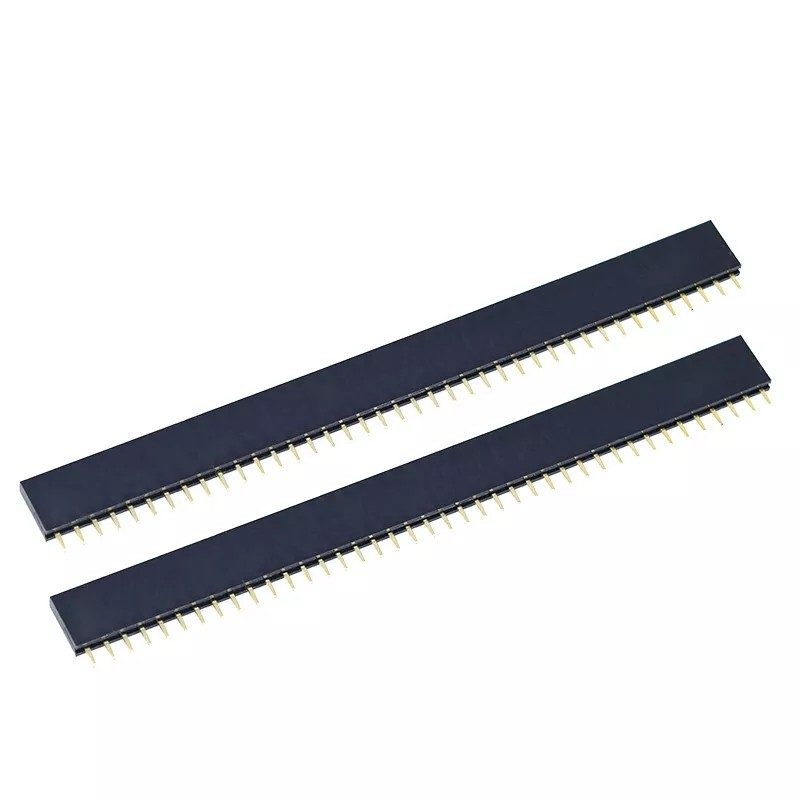
OR
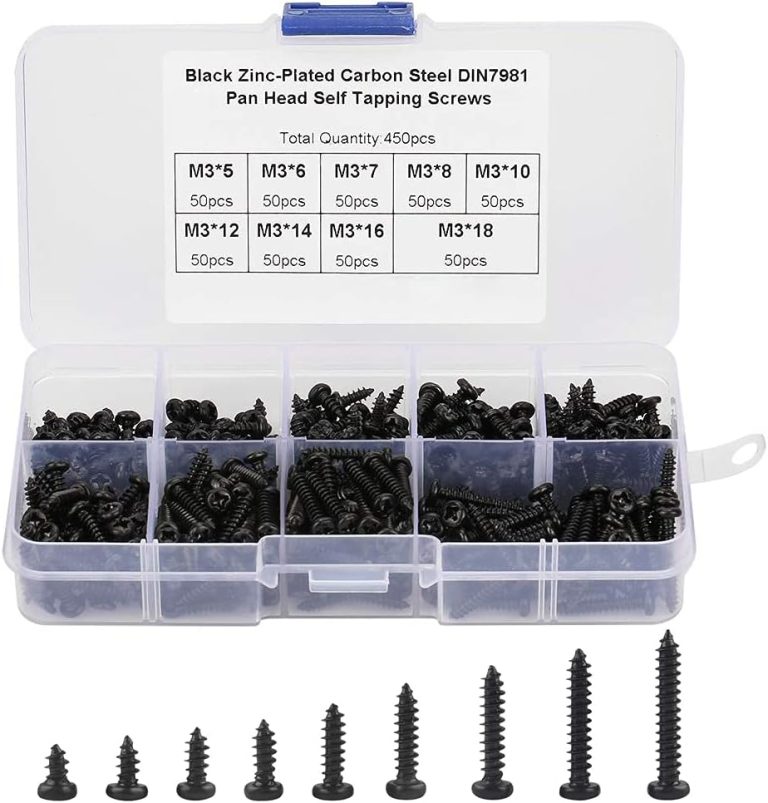
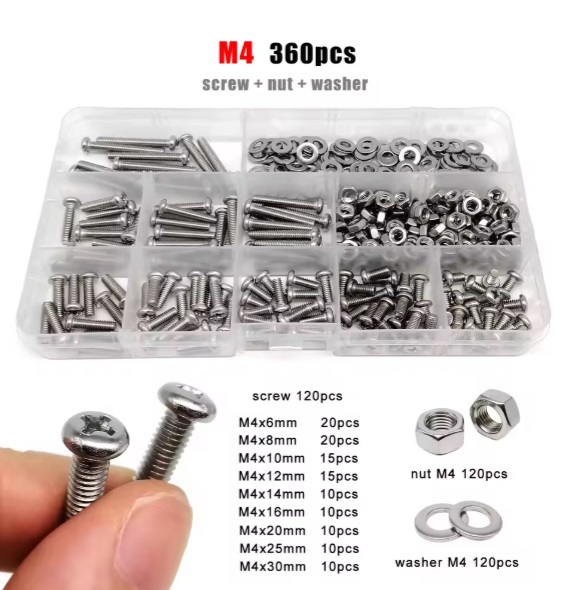
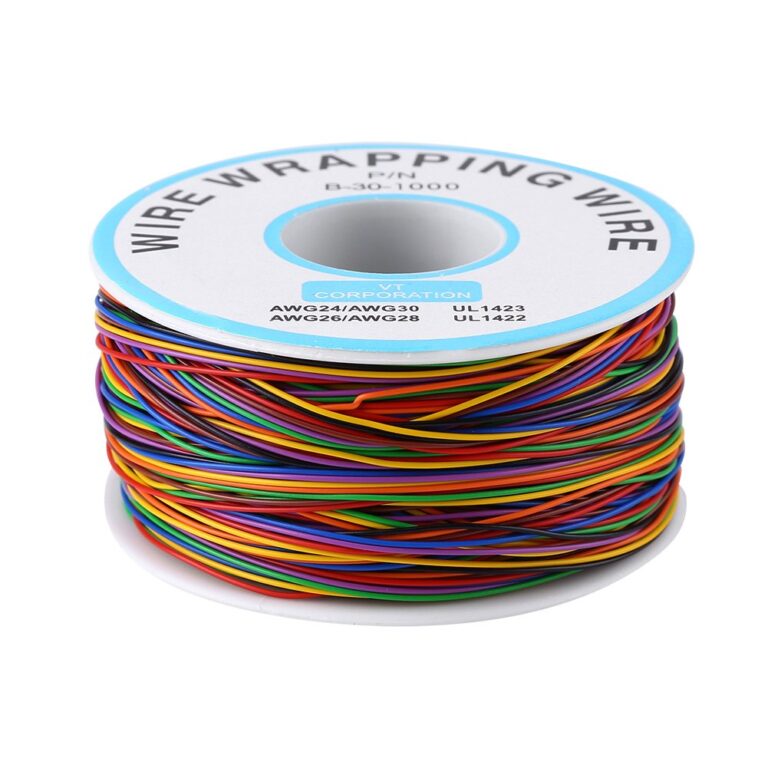
To make the projects compact and durable, I kept the cable channels small. The best wire to use is 30 AWG – 0.05 mm² – D 0.25mm
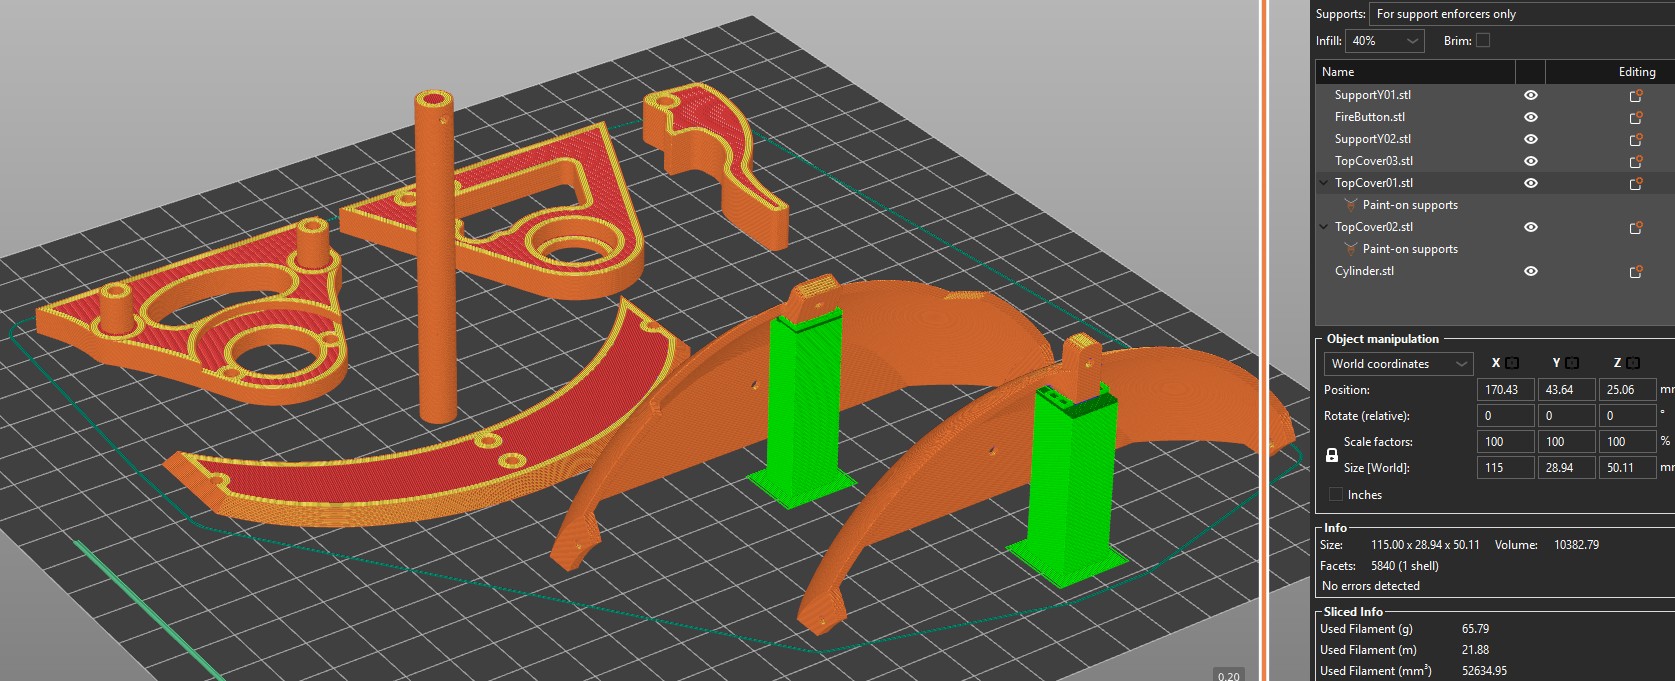
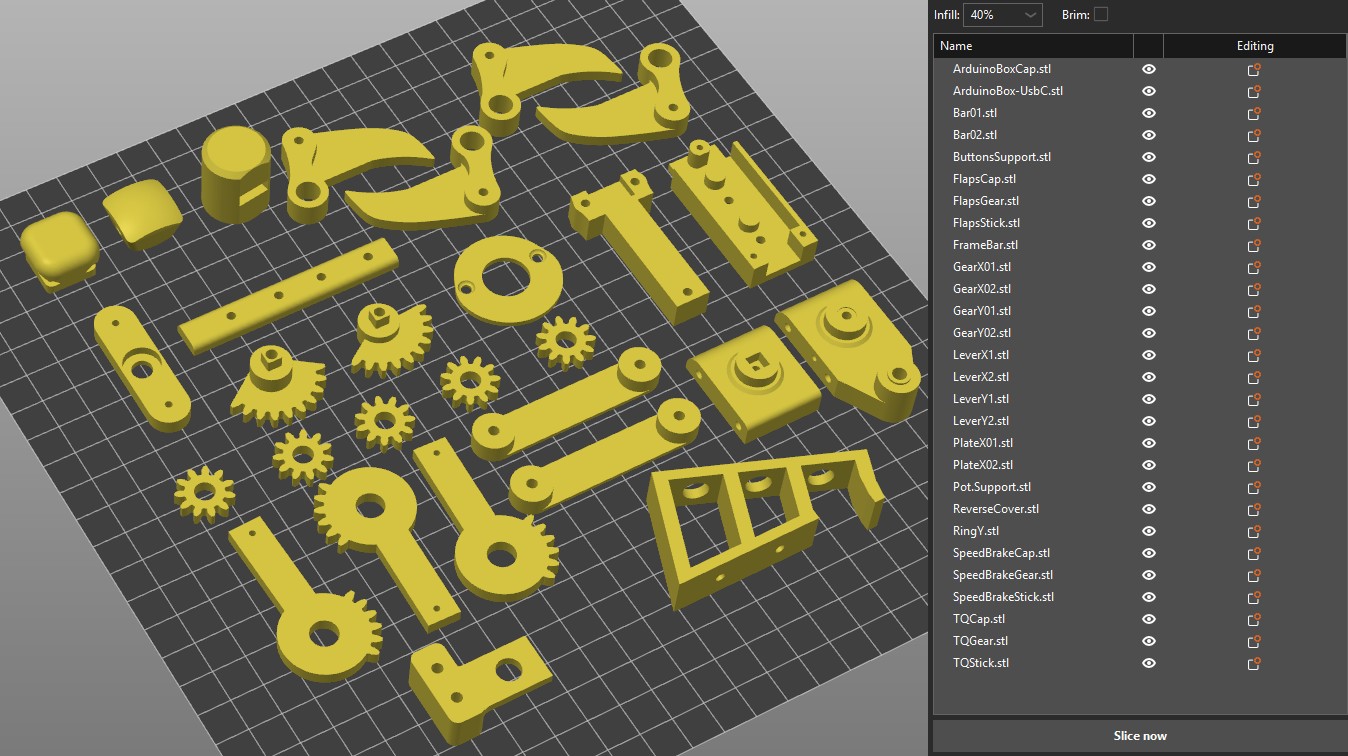
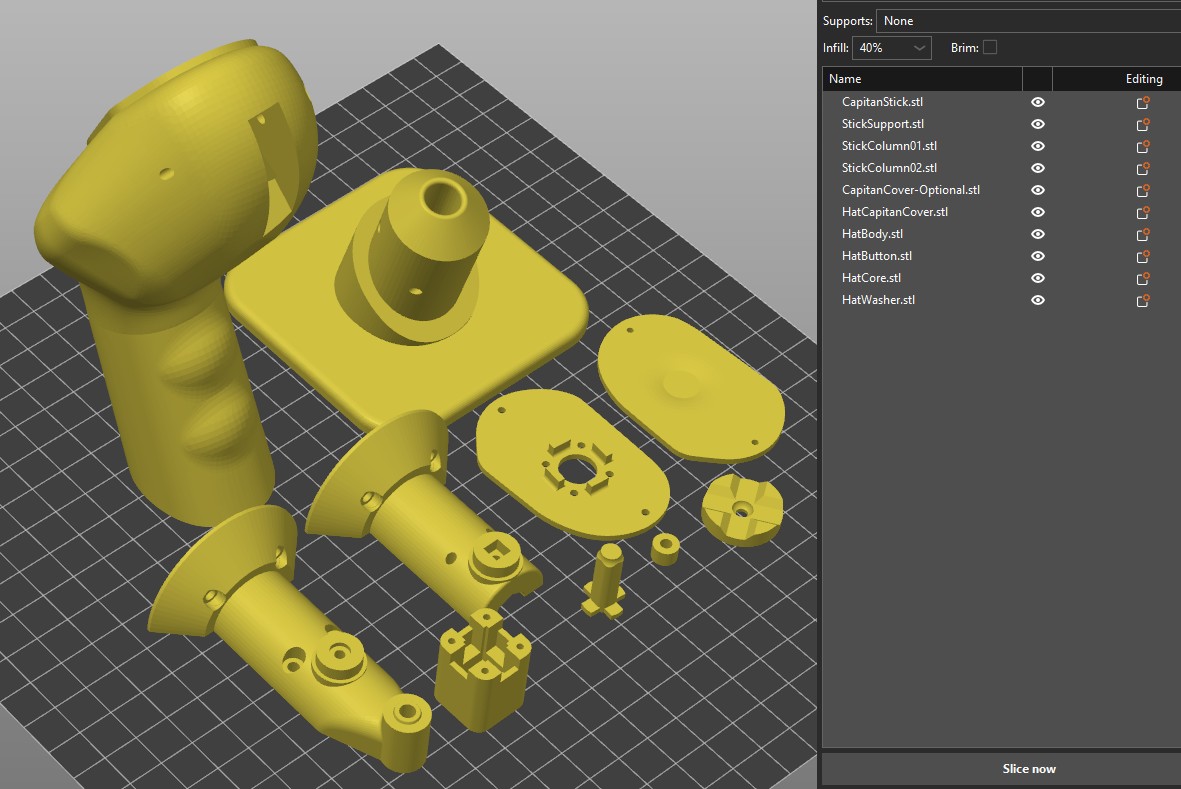
3D Printing Settings:
The design is optimized for common 3D printing settings and requires standard materials such as PLA or PETG.
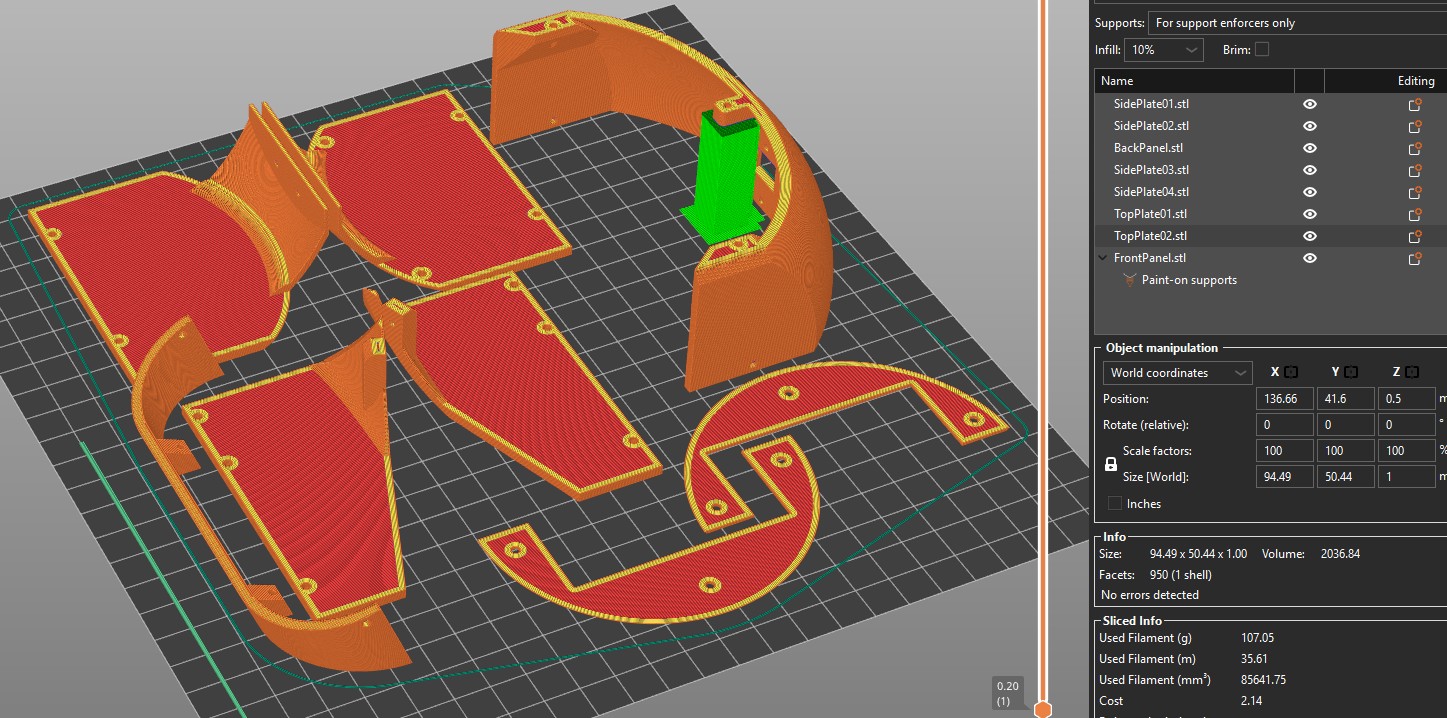
IMPORTANT: Some bodies require Custom Supports:
Slicer: Custom Supports
Also Enable Bridge
Layer Height: 0.2mm (But You can choose Your settings).
Infill: 40%-80%
Slicer: Custom Supports
Also Enable Bridge
Layer Height: 0.2mm (But You can choose Your settings).
Infill: 40%-80%
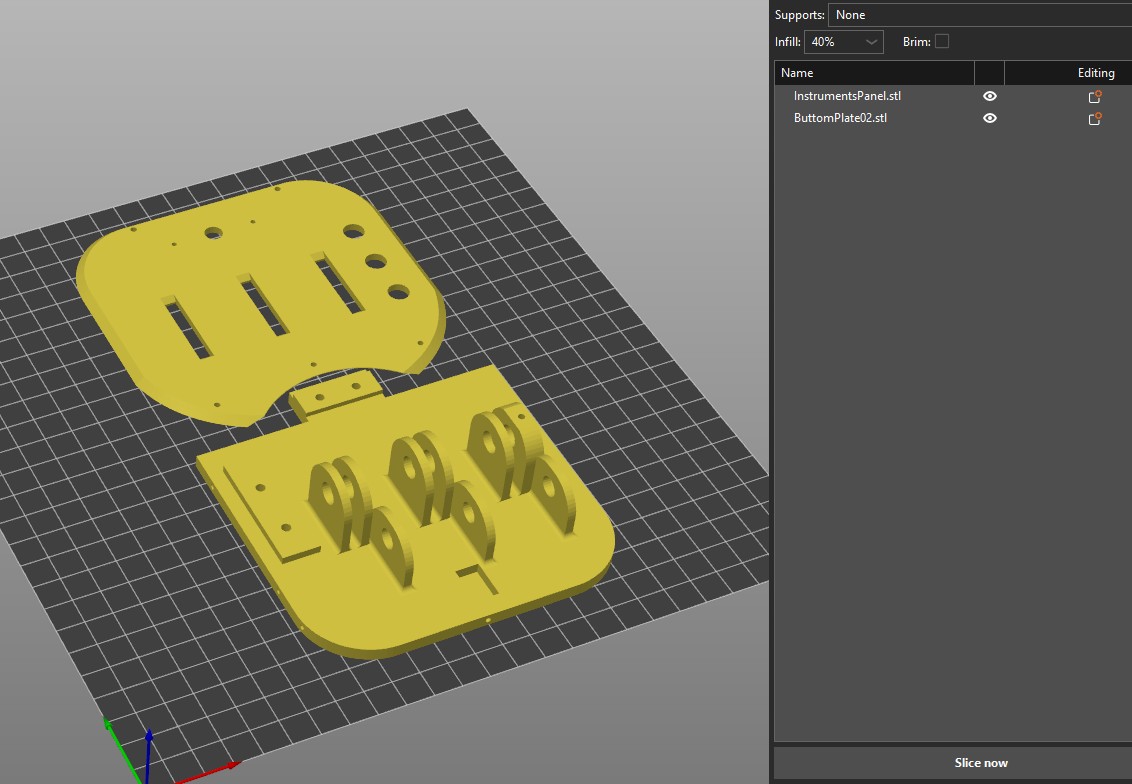
Slicer: Bridges-on
Support-off
Support-off
Slicer: Bridges-on
Support-Custom
Support-Custom
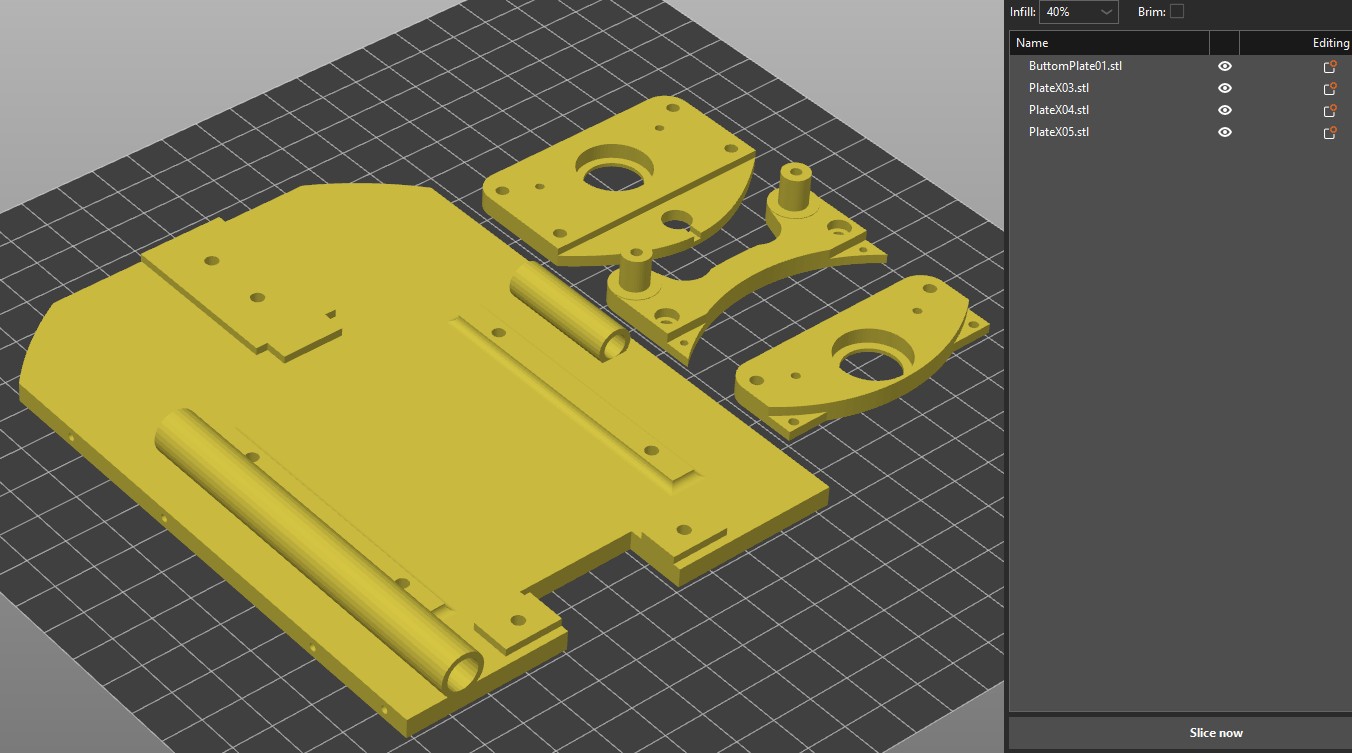
Slicer: Bridges-on
Support-Off
Support-Off
Slicer: Bridges-on
Support-off
Support-off
Slicer: Bridges-on
Support-off
Support-off
Slicer: Bridges-on
Support-On !!!
Support-On !!!